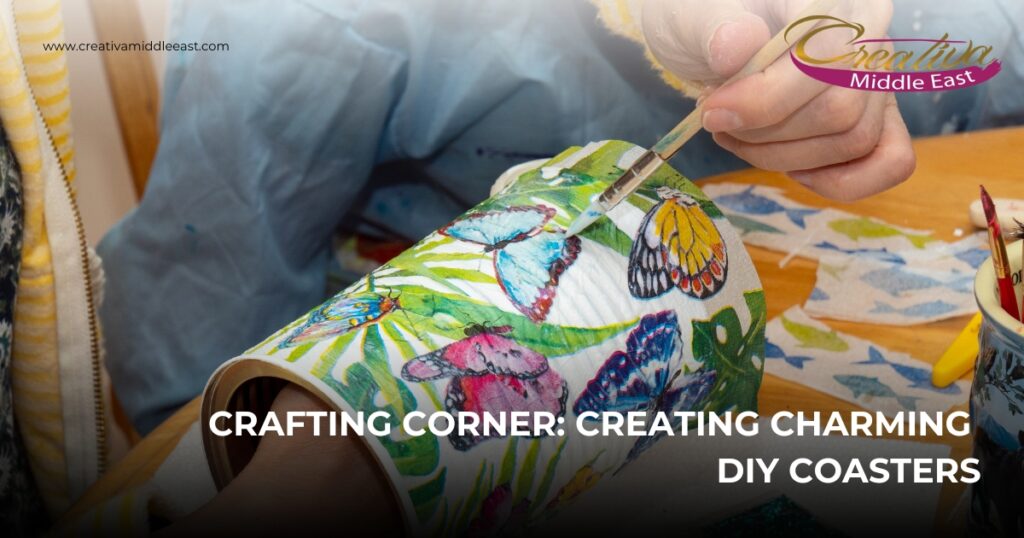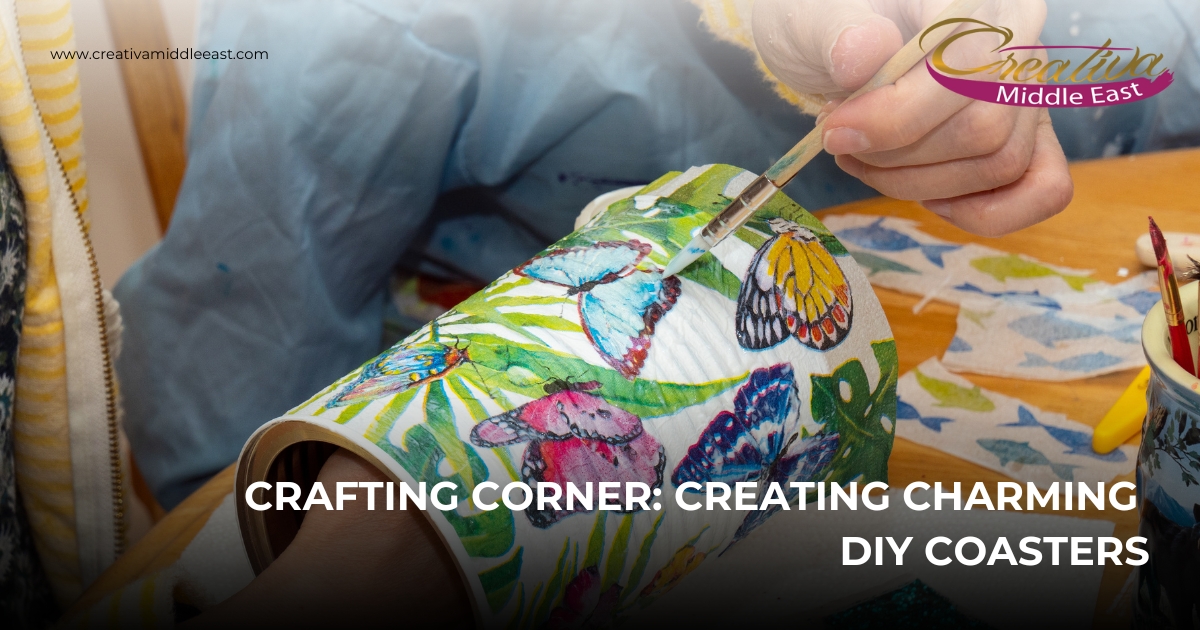
Welcome to Crafting Corner, where simplicity meets creativity! Today, we’re diving into a delightful and easy crafting project: DIY coasters. These charming little pieces are not only functional but also add a personalized touch to your home decor. Whether you’re a crafting novice or a seasoned pro, this project is perfect for everyone. Let’s get started!
Materials You’ll Need
- Cork coasters: These are easily available at craft stores or online.
- Acrylic paint: Choose your favorite colors.
- Paintbrushes: Various sizes for different details.
- Painter’s tape: For creating clean lines and geometric designs.
- Stencils: Optional, but great for intricate patterns.
- Mod Podge: To seal and protect your design.
- Acrylic sealer spray: Adds an extra layer of protection.
- Paper towels and a cup of water: For cleaning brushes.
Step-by-Step Guide
Step 1: Prepare Your Space
Lay down some newspaper or an old tablecloth to protect your work surface. Gather all your materials so you have everything within reach.
Step 2: Base Coat
Start by painting a base coat on your cork coasters. You can choose a single color for all or mix it up with different base colors. Apply the paint evenly and let it dry completely. This usually takes about 15-20 minutes.
Step 3: Design Your Coasters
Now comes the fun part—designing your coasters! Here are a few ideas:
- Geometric Patterns: Use painter’s tape to create triangles, stripes, or other geometric shapes. Paint over the exposed areas, then carefully remove the tape once the paint is dry.
- Stencil Art: Secure a stencil on your coaster and dab paint over it using a small brush or sponge. This is a great way to achieve detailed designs without freehand painting.
- Freehand Designs: If you’re feeling artistic, go ahead and paint freehand designs. Think flowers, leaves, abstract shapes, or even simple polka dots.
Let each layer of paint dry before adding more details or additional colors to avoid smudging.
Step 4: Seal Your Artwork
Once you’re satisfied with your designs and they are completely dry, it’s time to seal your artwork. Apply a layer of Mod Podge over each coaster to protect the paint. Mod Podge dries clear and adds a nice glossy finish. Allow the coasters to dry for at least an hour.
Step 5: Extra Protection
For added durability, especially if you plan to use these coasters frequently, spray them with an acrylic sealer. This will protect your designs from moisture and wear. Let the sealer dry according to the manufacturer’s instructions.
Tips for Success
- Practice Patience: Let each layer of paint dry completely before moving on to the next. This ensures clean, crisp designs and prevents colors from bleeding into each other.
- Mix and Match: Don’t be afraid to mix colors and patterns. The more creative you get, the more unique your coasters will be.
- Gift Idea: DIY coasters make fantastic gifts. Create a set for a friend or family member, and tie them together with a ribbon for a charming presentation.
Crafting your own DIY coasters is a simple, enjoyable project that results in beautiful, personalized items for your home. Whether you’re using them for your morning coffee or as a decorative touch on your dining table, these coasters are sure to impress. So gather your materials, unleash your creativity, and happy crafting!
If you are looking some material of DIY projects also in Uae .The best option is https://creativamiddleeast.com/. Let Creativa Middle East be your guiding light on this transformative journey. If you are looking for a best supplies in craft materials. Creativa Middle east is the best art and craft store in UAE. For more detail https://creativamiddleeast.com/.Share your creations with us in the comments below or tag us on social media. We’d love to see your unique designs! Until next time, happy crafting from Crafting Corner!

